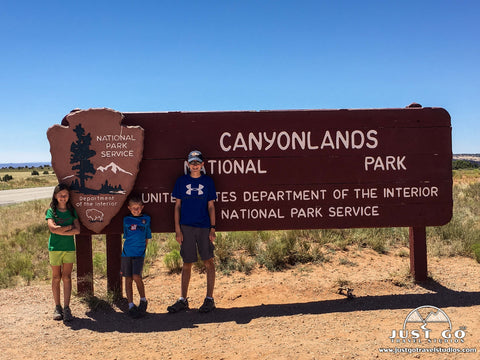
When prospective travelers think of the National Parks in Utah, a visit to Canyonlands National Park isn’t commonly on the top of the list. Often times, Canyonlands National Park is skipped, in favor of spending time in Moab’s other gem, Arches National Park. But what people don’t realize is that Canyonlands is a vast expanse like no other park in Utah, offering an incredible mix of scenery, plenty of hiking, amazing views that rival those of the Grand Canyon and a variety of things to do that can keep you plenty busy for days.
Another nice plus is that the crowds in Canyonlands National Park are much better than other parks in Utah. In fact, Canyonlands gets one-half the visitors as Arches, and Canyonlands has more than 4 times the area in which to spread out! Of course, some of the space in Canyonlands National Park is challenging to get to, but we’ll help you out with that!
As you can imagine, there are a ton of things to see and do in Canyonlands National Park. We hope that this guide helps to give you a few ideas on how best to enjoy your visit to the park and the surrounding area.
Before you head to Utah, download the latest copy of our Canyonlands National Park itinerary, or the Utah Parks Itinerary. We cover the best hikes, where to stay, what to pack, 1, 2 and 3 day itineraries (for different types of travelers and capabilities) and what to do in the area outside the park.
CANYONLANDS NATIONAL PARK: OVERVIEW
Canyonlands National Park is broken up into two main districts and two smaller districts: Island in the Sky and the Needles District are the largest. Both offer plenty to see and do, with landscape that differs quite a bit. The Island in the Sky District is about a two-hour drive from the Needles District.
Two more districts are far less visited, which includes the Maze District and the Horseshoe Canyon Area.
In addition to great hiking, off-roading and exploring, you may be interested in a guided river trip as well. There are breathtaking experiences on the rivers, and most of the excursions last several days.
ISLAND IN THE SKY DISTRICT
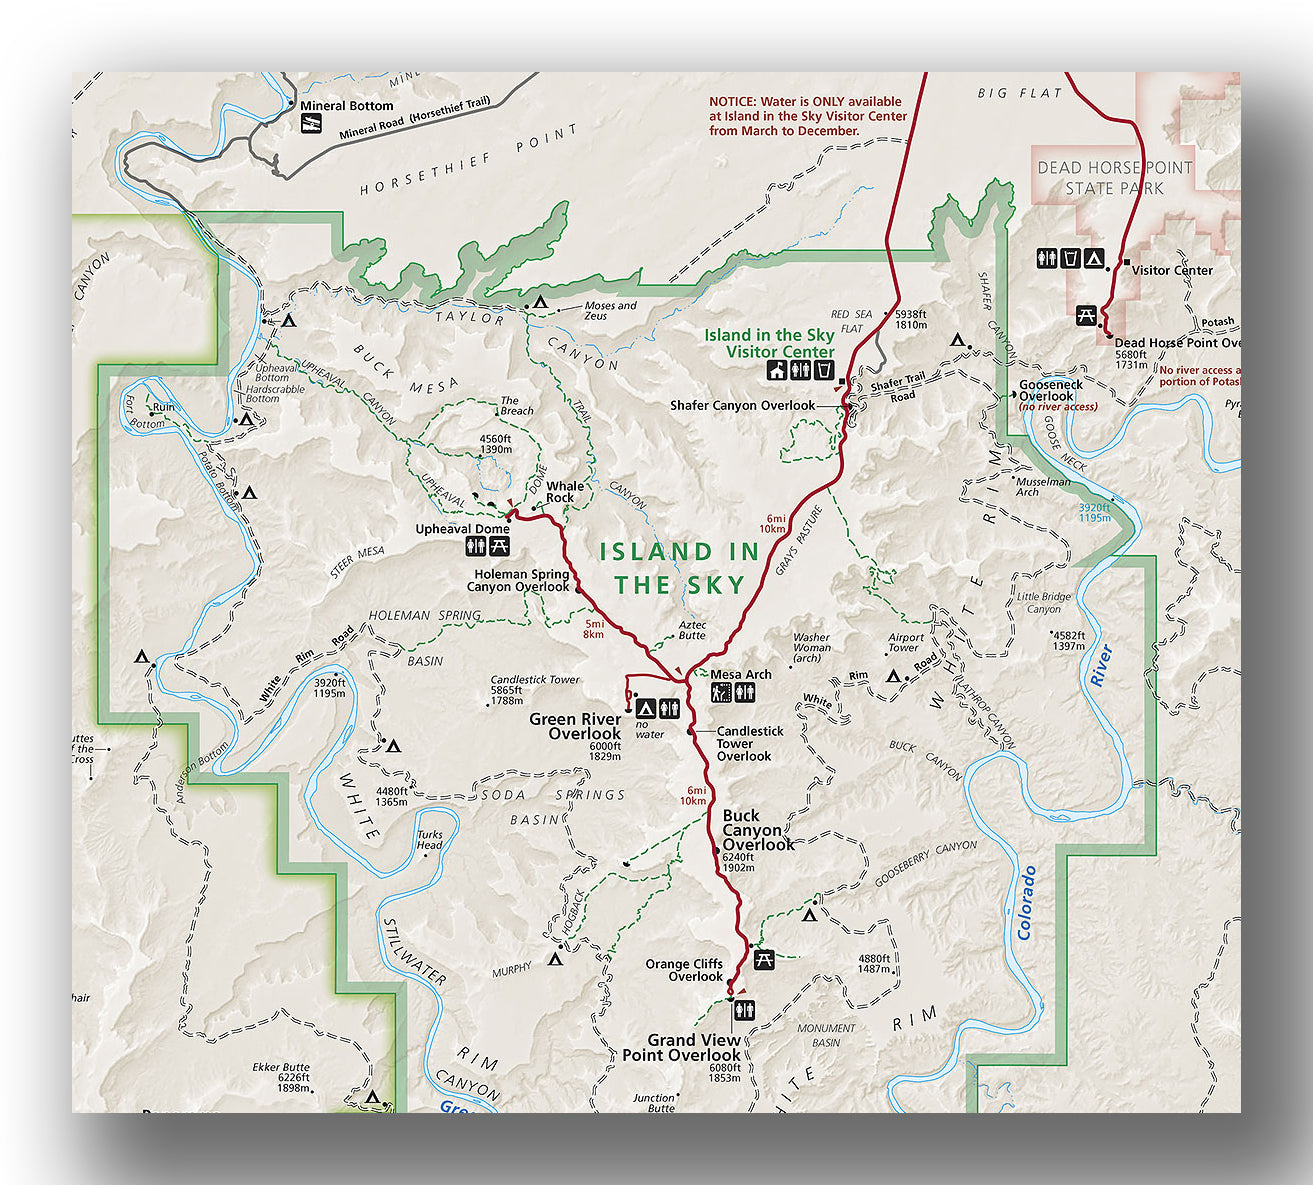
Island in the Sky District map, courtesy of the National Park Service
The Island in the Sky District is to the north and is the most popular destination in the park due to its proximity to Moab, Utah and Arches National Park. There are expansive views, a main park road that allows easy access to the main parts of the park, plenty of great overlooks and some great hiking.
Island in the Sky is situated on a mesa that is nearly a thousand feet above the surrounding floor. This means that in addition to amazing views, there are also plenty of places to get hurt, or even worse. Be sure to keep a close eye on your children and watch your step as you take in the scenery.
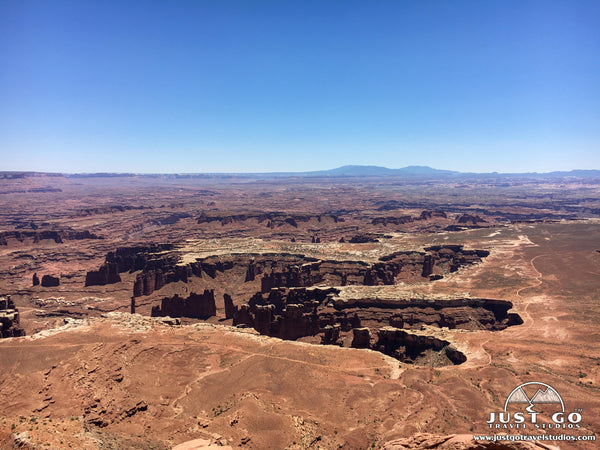
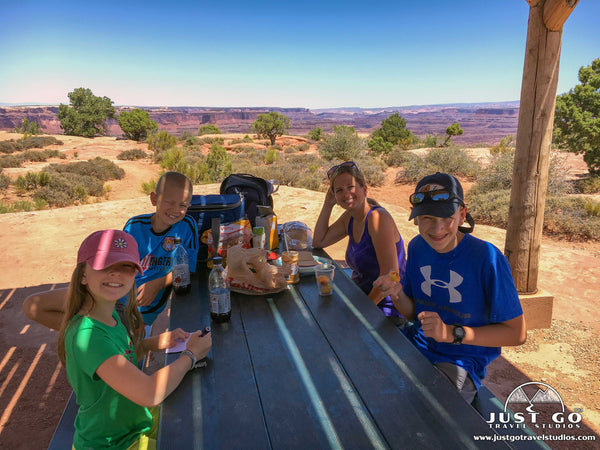
To see the Island in the Sky District, we recommend that you plan on a full day, even if hiking isn’t your thing. It takes some time to get to the park itself, and once you are there you are going to want to take your time.
While visiting the Island in the Sky District, there are a few recommendations that we have, which include:
- Island in the Sky Visitor Center. This is the main visitor center in Canyonlands National Park. It has a small store, some great exhibits, permits and park information available. The rangers are also ready to answer your questions about the latest conditions in the park, expected weather and tips on what is happening that day in the park. You should stop and watch the film as well. Be advised that this Visitor Center is only between March and December.
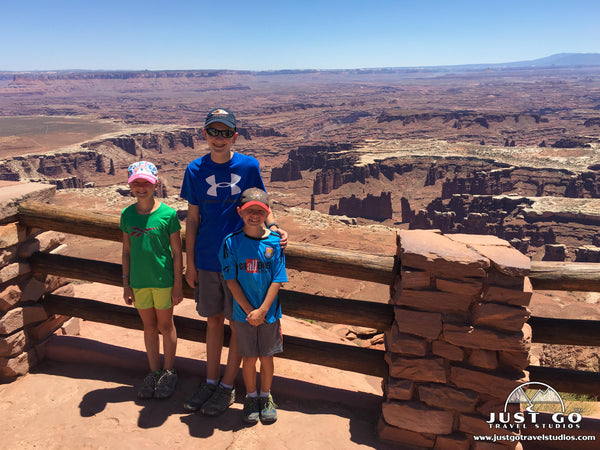
- Grand View Point Overlook. There are a number of overlooks in the Island in the Sky District and we recommend stopping in at all of them, even if only for a few minutes. In our opinion, the most impressive of them all is the Grand View Point Overlook. Located at the end of Grand View Point road, this overlook provides a great view to the south. If you have binoculars, you can see the Needles District to the south.
- Candlestick Tower Overlook. Just south of the junction with Upheaval Dome Road is the Candlestick Tower Overlook. This is a cool stop, which has a view of a massive set of rocks that give the appearance of candlesticks.
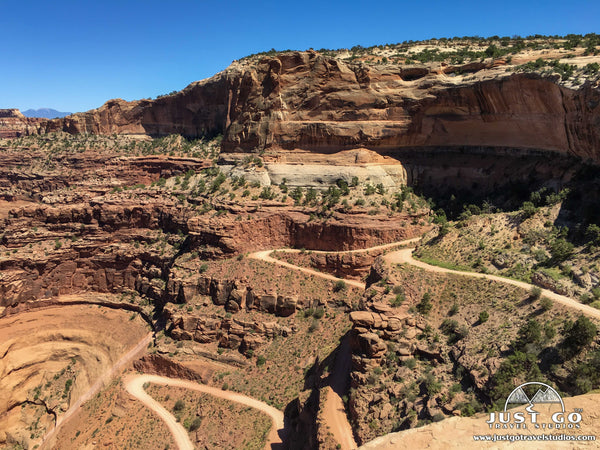
- Shafer Trail Overlook. The Shafer Trail is a winding, exciting (and harrowing!) road that heads down into the canyon. From the overlook you can see the hairpin switchback turns of the Shafer Trail, without the worry of trying to drive down into it! It is located just south of the Island in the Sky Visitor Center.
- White Rim Road. The White Rim Road is a 100-mile road that travels around Island in the Sky. It can be traveled by mountain bike or 4WD high-clearance vehicles. This amazing road is worth taking if you have the time, but you do need to get a day use permit if you do. There is also camping along the way.
-
There are plenty of hikes in Canyonlands National Park, and many of them ore either easy or moderate, making them great for many skill levels and even families with young children. All of the trails in the Island in the Sky District are exposed, so be sure to bring plenty of water, sunblock, a hat and snacks. Plus, nearly every hike here starts by heading down in elevation before returning up. Be sure to save plenty of your energy for a hike back up! In this area of the park, we recommend the following hikes:
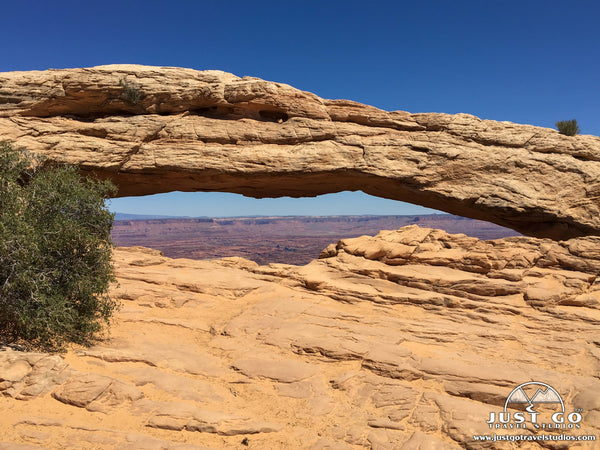
- The Mesa Arch Trail is an easy, 0.6-mile (round-trip) hike that climbs a total of about 120 feet. The hike heads through an easy trail and ends at the most photographed arch in Canyonlands. This is a great place for family photos, or to photograph sunrise. Be advised, though, that the hike is very busy, so you can expect plenty of people on this trail and you may have to wait a bit for a photo at the end of the hike. There is also a sheer drop off at the end where the arch is, so be careful!
-
- The Grand View Point Trail is another gem of a hike. This easy trail only has 200 feet of elevation gain as you head out on the 1.8-mile round-trip hike. There are amazing views for the entire trail, but beware that there is a 1000 foot drop off on either side of the trail! It also can get very windy.
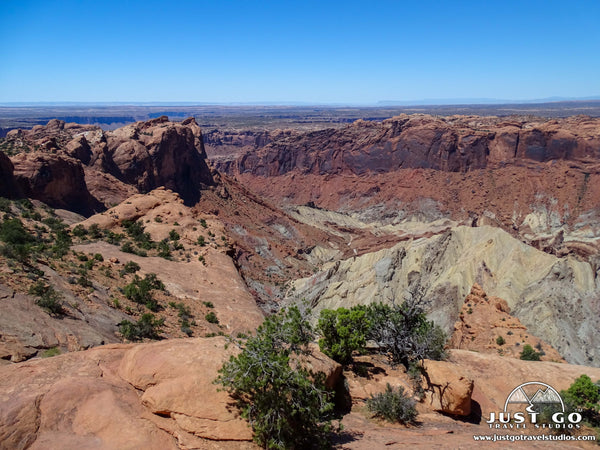
- The Upheaval Dome via the Crater View Trail is a moderately challenging hike that is just over 1.5-miles (round-trip) with about 300 feet of elevation gain. Starting from the parking area at the end of Upheaval Dome Road, the trail climbs slowly up to a view of a one-mile-wide crater. While most of the park was formed by erosion, this was formed by a sudden “event” that is not fully understood. You can also hike only 0.8 miles round-trip if you want to see the crater from the overlook. If you go the whole way, way, you’ll be able to see the canyon as well.
-
- The Syncline Loop Trail is a challenging, 8.2-mile (round-trip) hike that climbs over 1500 feet. Starting from the Upheaval Dome Road parking area, this hike circles around the crater. If you hike clockwise, you can avoid the steep incline at the end. We don’t recommend you take this hike in the summer due to the exposure and potential for heat exhaustion.
- Another easy hike worth checking out is the Whale Rock Trail. This 0.8-mile (round-trip) trail only climbs about 130 feet. There is some scrambling as you get to Whale Rock, which has nice views. Kids especially love this hike.
NEEDLES DISTRICT
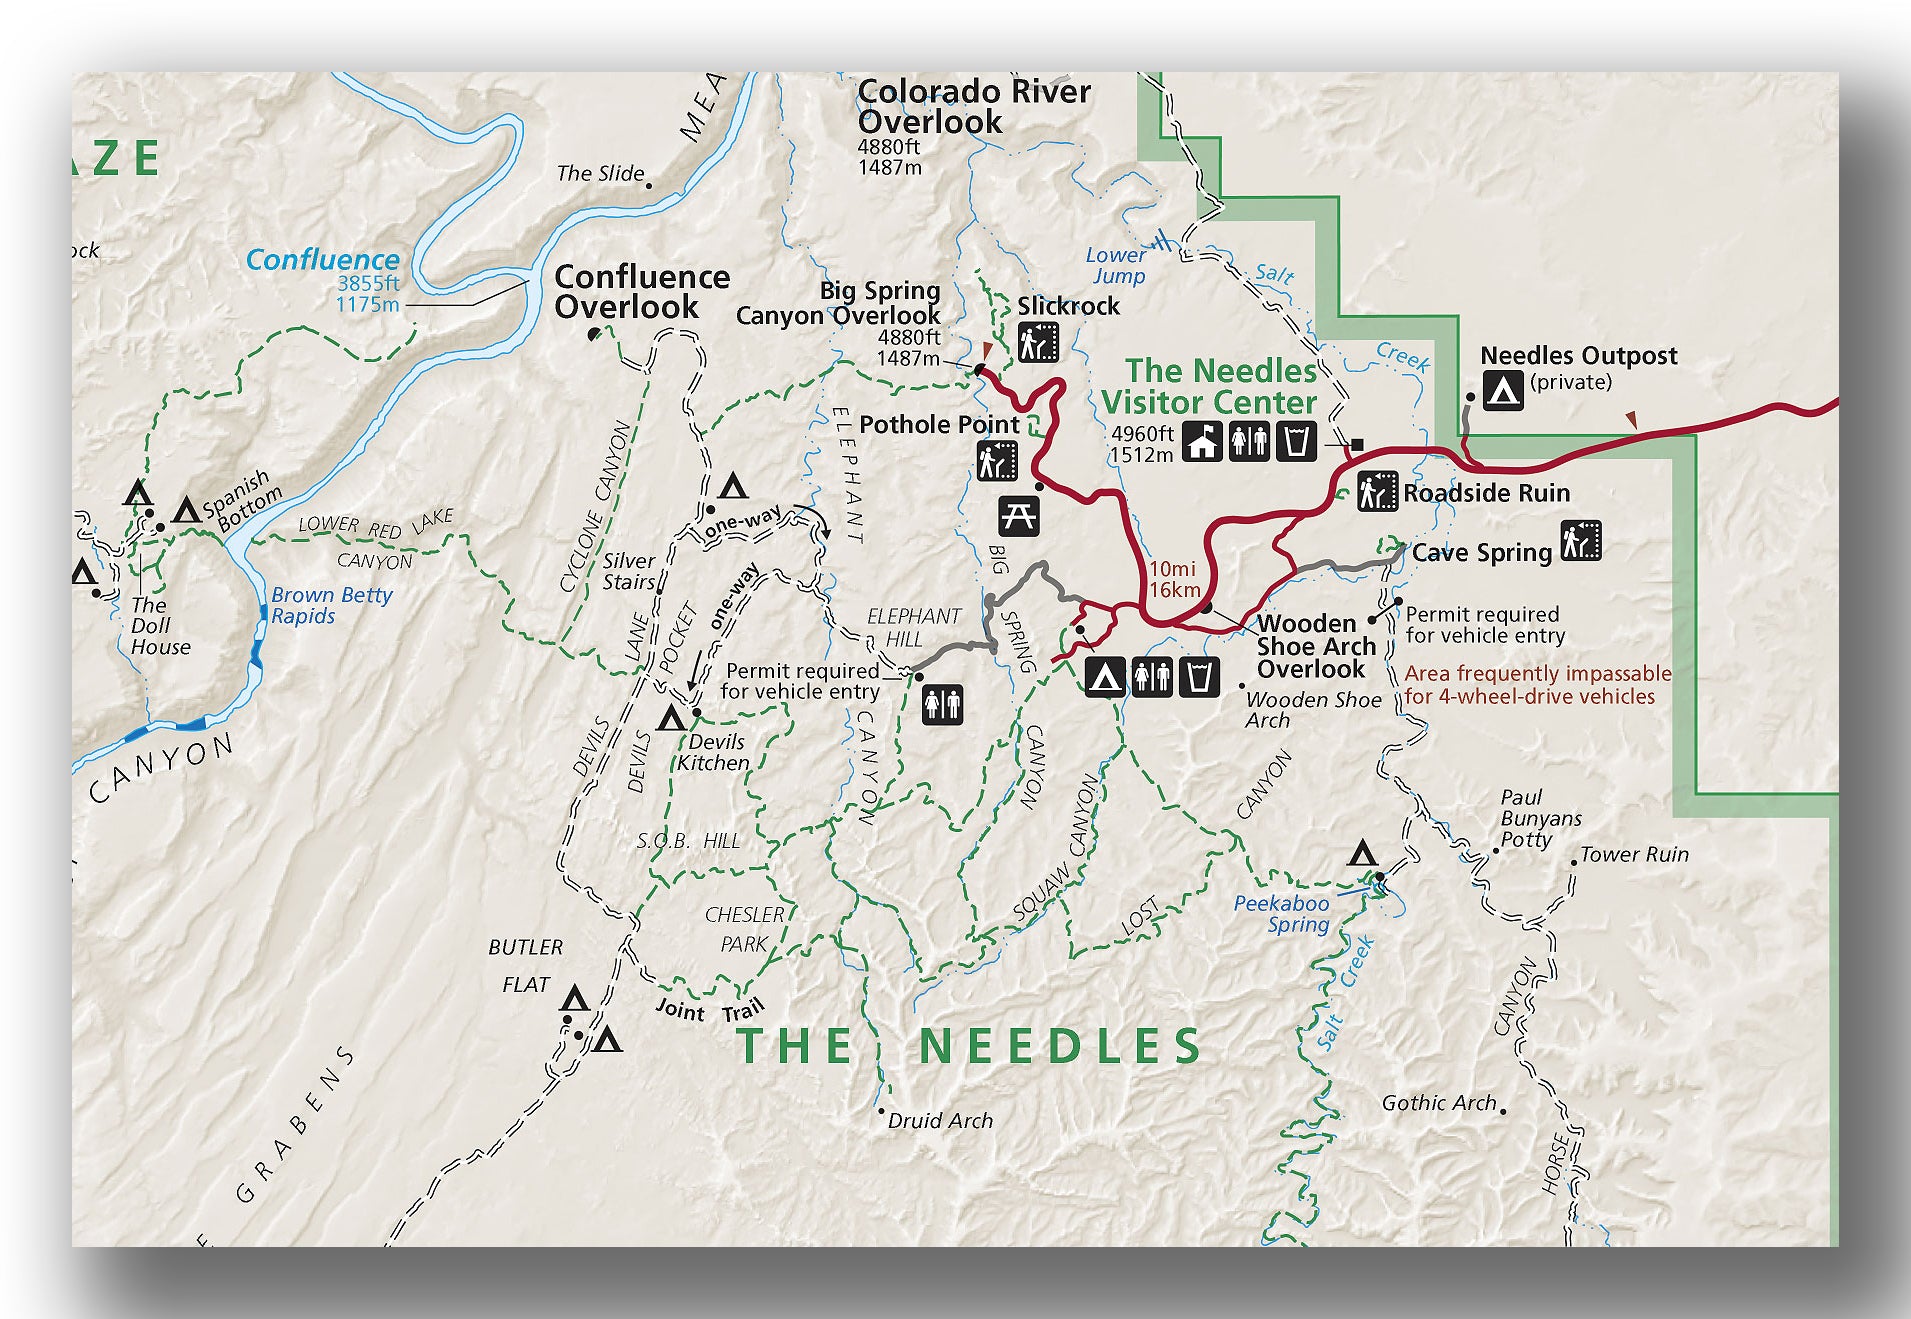
Needles District map, courtesy of the National Park Service
The Needles District is quite different from the Island in the Sky District. It’s known for the amazing sandstone spires, incredible hiking and off-roading. It’s about two hours to the south of the Island in the Sky District (by car), but only about 90 minutes from Moab, UT.
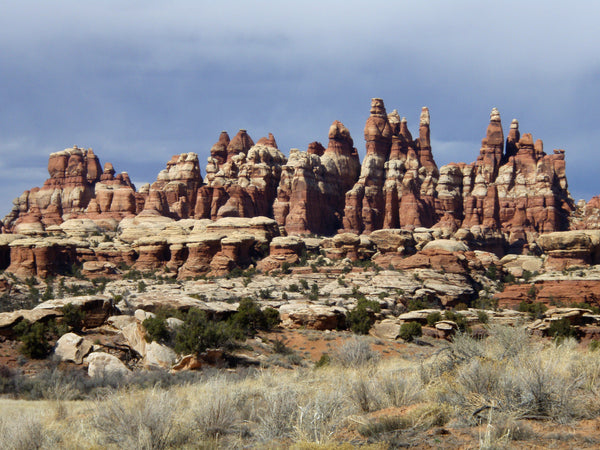
Needles District, image courtesy of Rob Lee
When visiting the Needles District in Canyonlands National Park, we recommend:
- Needles District Visitor Center. While this visitor center is smaller than the Island in the Sky visitor center, it’s still worth checking out when it’s open, which is in the spring through the fall. You can obtain permits here, find out the latest information specific to the Needles District as well as watch the short film.
- Off-road Driving. Off-roading in the Needles District is very popular, though you have to plan out your routes. Many of the trails are rugged and steep, and getting towed out of here will cost you on the order of $1000 or more. You need to be sure to obtain a day-use permit before you head out as well.
-
If you are looking for moderate to hard hikes in the park, then the Needles District is for you! The hikes are very immersive, and there are plenty of trails and options of routes to take. Our recommended hikes include the following:
- The Squaw Flat Loop Trail is a moderately-difficult hike. At 7.2-miles (round-trip) with 600 feet of elevation gain, just the distance is what will get you here. The trail first goes through sagebrush and Big Canyon (with views of Squaw Butte and the La Sal Mountains) before returning through a loop through Squaw Canyon. The trail is mostly flat, making it great for families with active kids.
- The Druid Arch Trail is popular among experienced hikers. The challenging, 10.4-mile (round-trip) hike climbs over 1600 feet and leads to one of the most amazing views in the park. The hike includes a ladder at the end, so you can get to see the arch. Be sure to have plenty of water!
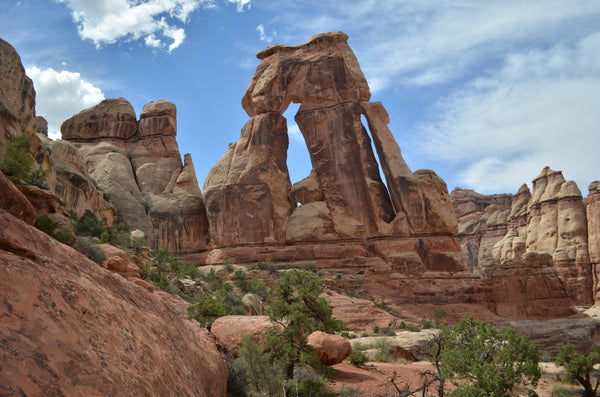
Druid Arch photo provided by Richie B pics
- The Cave Spring Trail is a short, 0.6-mile (round-trip) hike that is easy, except for the ladders at the end. The great thing about this hike is t at it leads to old cowboy artifacts and petroglyphs.
- The Pothole Point Trail is the only easy hike in the Needles District. At 0.6-miles (round trip), it’s mostly flat and leads to a number of dry “potholes” in the rocks. We recommend hiking around sunset to finish off your day, as the views are amazing without much effort.
- Finally, the Slickrock Trail is a moderate hike that is 2.2-miles (round-trip) with about 130 feet of elevation gain. It leads to great views of the Needles and the surrounding area.
MAZE DISTRICT
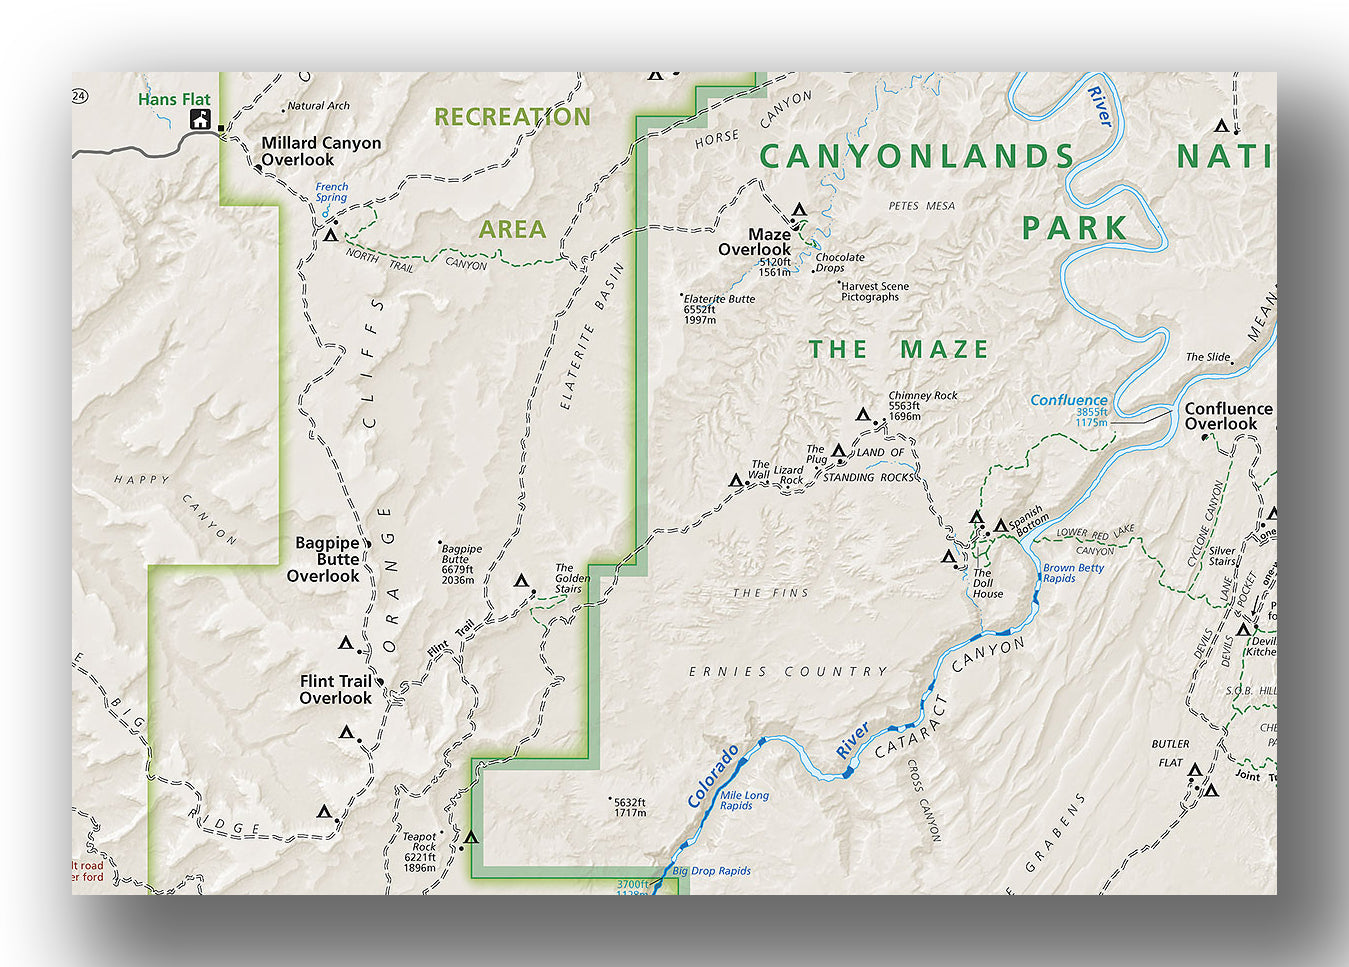
Maze District map, courtesy of the National Park Service
The Maze District is the least visited part of the park and the most challenging to get to. This part is mainly for those that want to experience extreme off-road driving. Services and pavement are virtually non-existent, so be prepared for whatever you plan on taking on while you are here!
- Off-road Driving. Off-roading is the main attraction in the Maze District, but it is only recommended for experts. Before you go, read up carefully on the requirements for off-roading in the Maze District.
HORSESHOE CANYON AREA
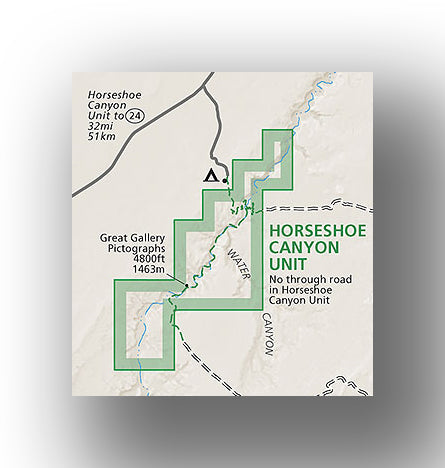
Horseshoe Canyon map, courtesy of the National Park Service
The Horseshoe Canyon area takes about 4 hours to get to from Moab and abuts the Glen Canyon National Recreation Area. The area is mainly known for the primitive rock art from the American Indians, created thousands of years ago. Butch Cassidy and other outlaws were known to hideout here in the 1800’s.
- Hans Flat Ranger Station. Though there aren’t any services here, the ranger station is manned and has useful maps of the area.
- There is only one hike in this area of the park, which is The Great Gallery Trail. At 7.0-miles (round-trip), the hike travels through sand for most of the trail (after a steep drop of nearly 1500 feet). After a couple of hours, the trail leads to one of the most impressive petroglyph sites in North America.
HOW TO GET TO CANYONLANDS NATIONAL PARK AND OTHER TRAVEL INFORMATION
If you are planning on heading to Canyonlands National Park, you have a few options depending on your method of travel:
-
If traveling by air, a common starting point is Salt Lake City, UT, which is served by all major US carriers. You can also fly into the smaller airports of Montrose, CO or Moab, UT. However, the ticket prices will likely be quite a bit higher. From Salt Lake City, the park is about 4 hours.
WHERE TO STAY IN CANYONLANDS NATIONAL PARK
Canyonlands National Park Lodging: There are no lodging options (other than camping) inside of Canyonlands National Park. However, we recommend staying at one of the many lodging options in nearby Moab, UT. Not only are there a ton of food options, it’s also a great home base for excursions to Arches National Park.
Camping in Canyonlands National Park: There are two main campgrounds inside Canyonlands National Park, one in the Island in the Sky area and the other in the Needles District. Reservations are only offered in the Needles District during certain times of year. You can also consider Backcountry Camping if you are prepared!
BEST TIME TO VISIT CANYONLANDS NATIONAL PARK
You may think that since Canyonlands National Park is in Utah that it’s always warm and great to visit. That is simply not the case. Since the elevation is quite high, it gets cold at night in winter months. In fact, lows hover around the 20’s in January! Come march, though, daytime temps are ideal in early April through May, and then again in later September through early November. Additionally, the visitor centers are generally only open in the warmer months of the year.
This doesn’t mean that it’s not okay to visit the park in the winter months or in the heat of the summer-you just need to be prepared.
The most popular months to visit the park are May and September, though pretty much anytime between March and October you’ll find plenty of people in the park. Nearby Arches National Park is the same way.
WHAT TO BRING TO CANYONLANDS NATIONAL PARK
- By all means, bringing a good sunscreen and a hat should be on your list.
- We recommend bringing a light jacket no matter what time of year, as the temps can get cool in the evening (though rare in the middle of the summer).
- Don’t forget to bring plenty of water.
- We love the National Geographic maps, and the Canyonlands National Park map is excellent.
RELATED INFORMATION ON CANYONLANDS NATIONAL PARK FROM JUST GO TRAVEL STUDIOS
- Don’t forget to download a copy of our Canyonlands National Park itinerary ahead of your trip!
- For more detailed information on hiking in the park, check out our blog on the Best Hikes in Canyonlands National Park as well as our blog on the Best Hikes in Moab. You can also learn about a super easy and fun hike, the Mesa Arch Trail.
- For a unique travel memory, send us a photo and we’ll work with you to create a custom, vintage travel poster. We’ve shipped thousands, and people love them!
